My daughter is now two and a half years old and has recently developed a passion for fashion – whether it’s putting on a hat, jewelry and a boa from her dress-up box OR changing her outfit three times a day (really looking forward to those teenage years :).
She likes to be fancy and as cute as she is when she is all dolled up I do not “fancy” spending a ton of money on her dress-up wardrobe. Cue the tutu…what little girl does not own at least one tutu, right? And if your little girl is anything like my little girl she’d love to have a whole closet full of them, am I right? Well, now she can…within reason 🙂 Below, you’ll find an easy and inexpensive craft that will have you creating your very own toddler tutus…and hey, it’s just in time for Halloween 🙂 Happy crafting!
Materials
You will need:
- Glue gun and glue sticks
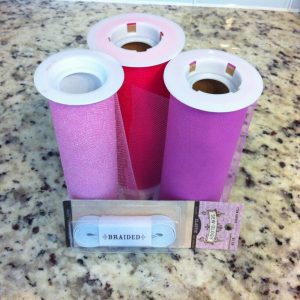
- Elastic banding
- Tutu material (I bought spools of it at Hobby Lobby. They are the perfect width)
Step 1 – Elastic Waistband
- Measure your child’s waist using the elastic banding and cut (leave a tad bit extra for gluing purposes).
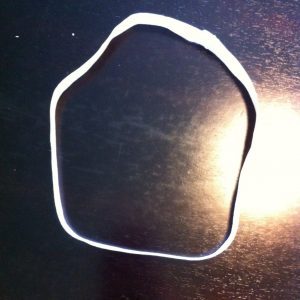
- Slightly overlap the two ends of the elastic banding and apply some hot glue. Hold for a few seconds until dry.
Step 2 – Tutu strips
- Choose desired tutu color or colors (I chose three shades of pink).
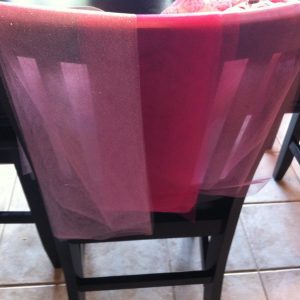
- Cut strips of the tutu material to desired length (this will be knotted onto the elastic band, so take that into account).
*I cut 15 pieces of each color (total of 45), but you may need to cut additional pieces as you go.
- Organize your tutu strips by color.
Step 3 – Creating the Tutu
- Select your first tutu strip and fold in half length-wise.
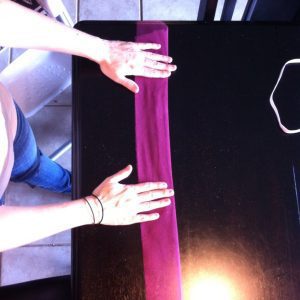
- Bring ends together to create a sort of loop.
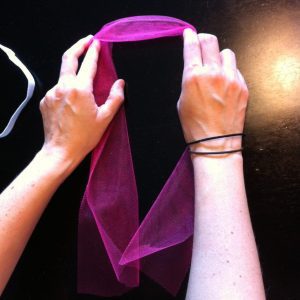
- Place center of loop (ends hanging down) behind elastic waistband.
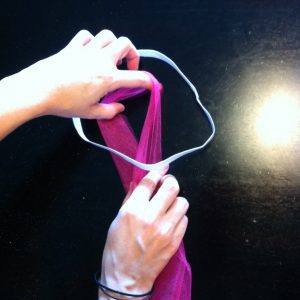
- Pull ends over the elastic banding and through the loop and pull tight (it should look like a tie).
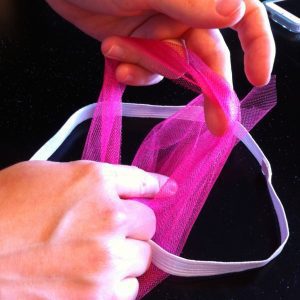

- Repeat with the next piece and color until you fill the elastic waistband.
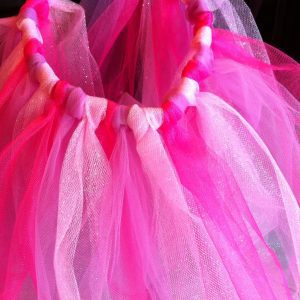
And there you have it – your very own handmade tutu that won’t make your wallet weep. Tutu-ly terrific 🙂




![It’s Time for an [ All Good ] Diaper Run! All Good Diapers for baby](https://riograndevalley.momcollective.com/wp-content/uploads/2020/05/Baby-by-all-good-box-218x150.jpg)


