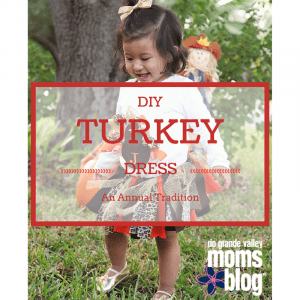
I am starting a tradition where every fall I make my daughter a turkey shirt and skirt to go along with it (for as long as she lets me). This is the first one I make for her. She’s only 16 months old, so she has to put it on, hehe. I think these ribbon turkeys are so cute, and you can totally customize to whatever color palette you’d like, or patterns. I love gold and cheetah print right now, so i incorporated those into the shirt/skirt.
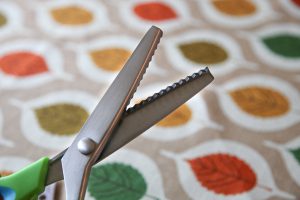
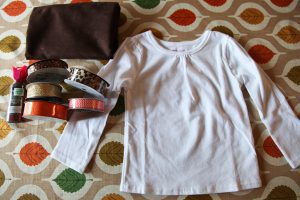
I’ll start with the skirt. This is totally optional though. These shirts will also look great with jeans or shorts. I chose five different fabrics. I bought half a yard of each, and had some left over. Besides the fabric (however many colors you want to use), you’ll need elastic for the waistband and a pair of pinking shears. [Related :: Toddler Tutu]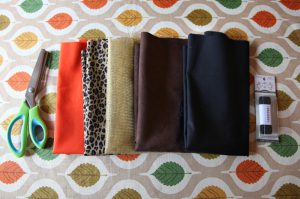 These are pinking shears. For the most part, pinking shears look like a normal, everyday pair of scissors except they have jagged blades. These are used to cut along a seam to create a ‘zig-zag’ effect that helps prevent fraying.
 Cut all the fabric pieces into 2 inch wide strips. Measure your child from the waist to her knee, or however long you want the skirt to be. My strips are 8 inches long. Fold the strips over half way lengthwise. Then measure your child’s waist to cut the elastic that width.
 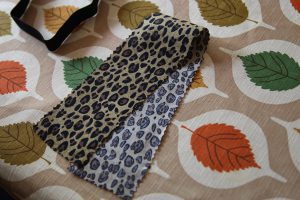 Bring the fabric strip under the elastic band (the two loose ends are at the top)…
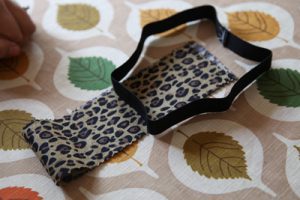 With your left hand, hold the bottom end of the fabric, and with your right hand grab those two loose ends and…
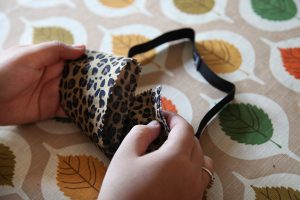 Pull through the loop into the left side.
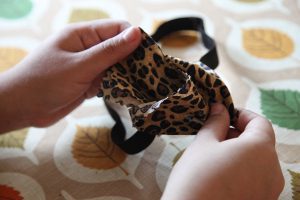 Pull tightly. It should look like this.
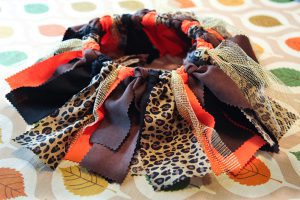
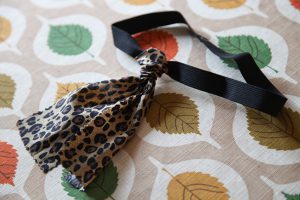 After all the strips are tied on the elastic, it will look full like this.
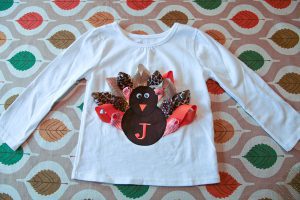
Now for the shirt. I used three different medium sized ribbon rolls, and two small ones. Use a little piece of brown fabric to cut out your turkey. I have some brown fabric paint here because I was planinng on outlining the turkey with paint, like a stroke. Later, I decided not to though. You can use heat’n bond to iron on the turkey if you don’t have a sewing machine. But that step will be last, after you stitch the (feathers) ribbons first.
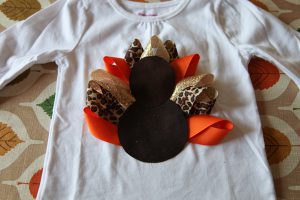
Cut out two circles, one bigger than the other. It will kind of look like a snowman. 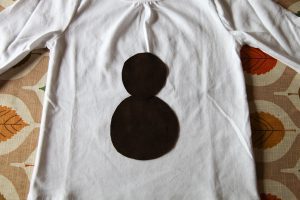 Next, cut your ribbons 6 inches long. Well, this depends on the size of the shirt you’re doing. Mine is size 18 months and this size ribbon worked for this size shirt.
 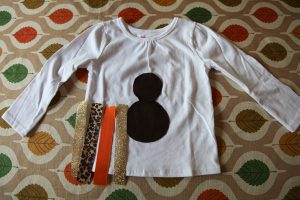 Loop your pieces of ribbon like this and…
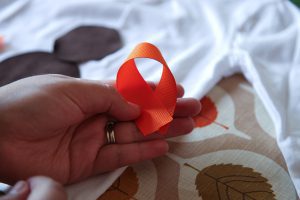 Secure with pins or safety pins on the shirt in the area where they will be sticking out from behind the turkey so that they look like feathers.
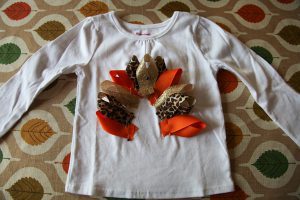 I kept having to place the turkey figure in the center each time i pinned a ribbon just to make sure it was placed right and not too far out. You can add a few 4 inch small ribbons in there as well. Once they’re placed where you want them, sew them on. I used a sewing machine but hand stitching will work as well. After you sew the ribbons, sew the two cirlces (the turkey) down. The small circle on top and the big circle on the bottom. If you have a sewing machine, use the zig zag setting and sew the turkey down, going along the outline. Iron it over Heat’n bond first, so the tukey won’t move while you are trying to sew it. If no sewing machine, then you can use just the heat’n bond. You can find it at Wal-Mart.
Add googly eyes then glue or sew on a tiny orange triangle for the beak. If you want to, you can personalize it by sticking an iron-on letter on the turkey (you can find them at Hobby Lobby). My friend who owns an embroidery machine embroidered the J for me.
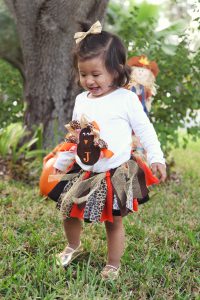
Here is my daughter sporting her new outfit 🙂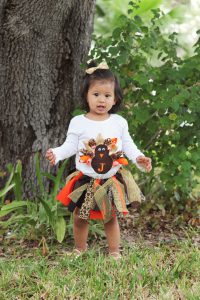




Wonderful tutorial! I can’t wait to try it soon 🙂 Thanks for sharing!