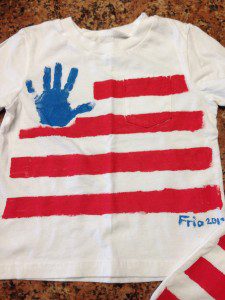
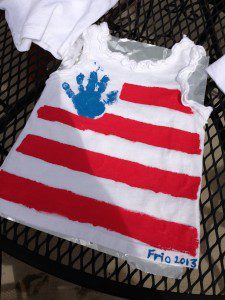
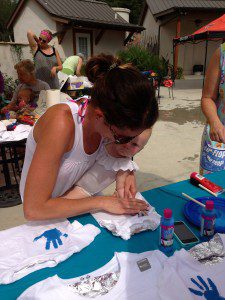
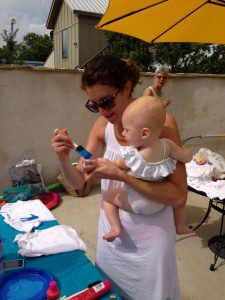
Every Summer right after the 4th of July my husband’s extended family gets together for a few days to hang out by the Frio River. In the mornings they have crafts planned for the kids, I mean the Mom’s! Last year one of the crafts was making these super cute American Flag t-shirts using our kids hand prints as the, “stars.” This was a really easy craft and didn’t require me to be overly artistic or creative! WIN!
Here is the list of items you will need:
- a white t-shirt
- red and blue acrylic paint
- a ruler
- pencil
- paint brush
- aluminum foil, card board or something to put in between the front and back of your t-shirt
Directions:
1. First, you will use a ruler and a pencil to make the horizontal lines for your red and white stripes. Make as many as you feel looks good on your t-shirt. Ours only had 5 since the shirts were tiny for my kids. I also used the width of the ruler to make my lines the same size.
2. Then, put a sheet of aluminum foil in between the front and back of the t-shirts so the paint will not bleed through.
3. Using the blue paint, paint your hand or your child’s hand and then press it on to the top left corner of the t-shirt. Wash your hand or your kids hand after this. If, you are using your child’s hand the good part is they are done and can run off and play.
4. Now, using the red paint, paint your horizontal lines. Remember to skip every other line so you have the red and white stripes.
5. Let your t-shirt dry completely before you remove your aluminum foil and wear.
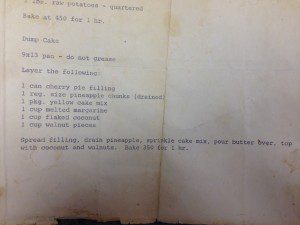
Here is an easy Summer dessert recipe that I remember my Mom making for 4th of July parties and other gatherings throughout the summers when I was growing up. My mom had not made this recipe for a few years and she decided to make it this past weekend while I was visiting with my kids. It is so yummy and easy to put together that I just had to share it with you!
Dump Cake (I mean you literally dump all the ingredients together and bake. No mixing required!)
Ingredients:
- 1 can cherry pie filling
- 1 can pineapple chucks in juice, drained
- 1 package yellow cake mix of your choice
- 1 cup of margarine or butter, melted
- 1 cup flaked coconut
- 1 cup chopped walnuts (optional)
Directions:
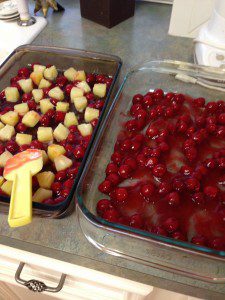
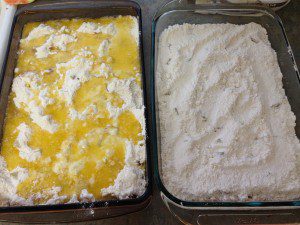
Pre-heat your oven to 350 degrees. Layer the ingredients in an ungreased 9×13 inch pan in the following order: cherry pie filling, pineapple, yellow cake mix, melted butter, coconut flakes and chopped walnuts, if you are using them.
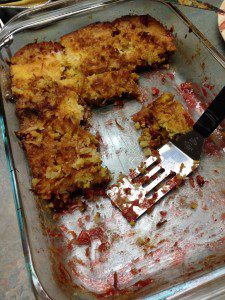
Bake for 45 minutes to an hour. Enjoy as is or even better served warm on top of ice cream!
This is a picture of my Mom’s original recipe from the 80’s.


